WordPress Table Block offers two table style options – Default (automatic size) and Fixed width table cells.
In Default table style your table column size is sets automatically based on cell content. And, in the Fixed width style, all cells get the same size in the table.
Why Is WordPress Table Block Column Width Change Required?
In most cases, WordPress users use default table style with Table Block. But, in some cases, based on table content, users need to change table column size based on it’s content.
For example, Table Block has three columns – Index, Title and Description. Here, users want to make the “Index” and “Title” column smaller compared to the “Description” column.
But, this type of column size customization setting is not available in WordPress Table Block.
Now, to solve this issue, you will get two solutions in this post. By using these solutions, you can change Table Block column width without using any plugins.
Change WordPress Table Block Column Width Using Additional CSS
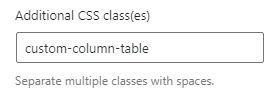
In the Additional CSS solution, you need to set “Additional CSS class(es)” in Table Block “Advanced” setting.
Following are steps to add additional CSS for changing Table Block column width.
- Create and complete your table using Table Block.
- Now, Go to “Advanced > Additional CSS class(es)” setting and add the class name “custom-column-table”.
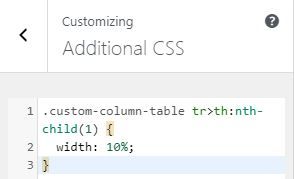
- Open the “Appearance > Customize > Additional CSS” setting in the new tab.
- Add the following code in “Additional CSS” and click the publish button.
.custom-column-table tr>th:nth-child(1) { width: 10%; }
Understand Block Table column CSS code:
Above code set style for your table header’s first column. Here, “nth-child(1)” means the first table head in a row.
If you set “nth-child(2)”, then style will apply for the second table head in row.
And, “width: 10%;” means, set a particular cell element width 10% of the whole table. You can change this value 10% to 15% or more, as per your content size.
Based on the above CSS code info, you can manage any column width in Block Table.
Can i Use this CSS class in all post’s Block tables?
Yes, by adding class name in Block’s “Additional CSS class(es)” setting, you can use this class for multiple Block Tables.
But, if you want to apply a different style for a new table, then create a new class in “Appearance > Customize > Additional CSS” with a different name and use that class for the new table.
For example,
.custom-column-table-price tr>th:nth-child(3) { width: 40%; }
Change WordPress Table Block Column Width Using Convert to HTML option
In this method, you need to add inline table cell width and convert the block to custom HTML block.
Following are steps to make Table Block to Custom HTML block.
1. Create and complete your table using Table Block.
2. Click the three dots icon to open Block “Options”.
3. From the options list, choose “Edit as HTML” option.
4. Now, set inline [width=”10%” ] to your cell in the first row (Example given in below image).

5. Next, click outside of Table Block to open the “Attempt Block Recovery” process.
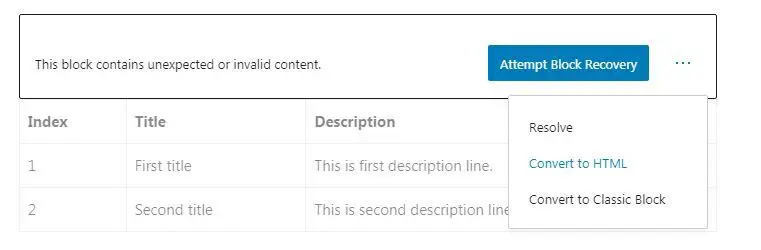
6. Here click three dot icon option and choose “Convert to HTML”.
7. Check post preview and publish change.
This solution required little knowledge of HTML table syntax. But, by following the above steps, you can easily implement in your blog.
In above steps, example given to change the second column width.
But, if you want to change another column width, then you need to add [width=”10%” ] code in that number of cell in first table row.
For example, to change the second column width, you need to add code in second cell in first row.
That’s it,
Hope you found solutions helpful.